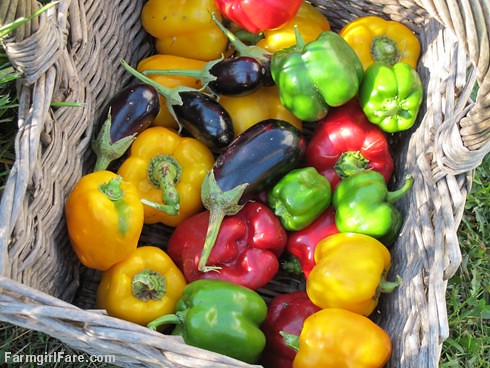
Eggplant, peppers, basil, volunteer lettuce, and our new cat, Jasper, who loves to march through (and roll around in) all the garden beds.
Want to see more? You'll find photos of what's happening each week in my kitchen garden (and all around the farm) in the Friday Farm Fix series on Farmgirl Fare.
Realization of the Day:
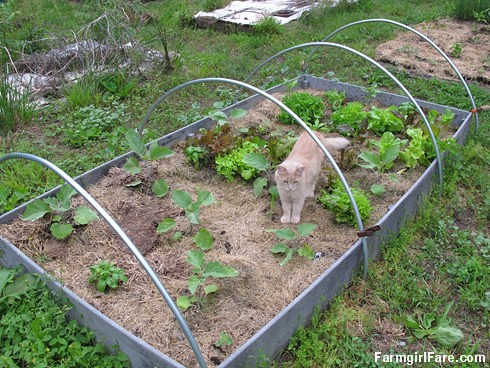
Every few weeks this spring I've been taking pictures of each of my raised garden beds, but I never get around to posting them. Sometimes I forget, sometimes I'm busy in the garden, and sometimes parts of the garden are kind of a mess and things just don't look good enough. (You may have noticed the overgrown walkways, unsightly cardboard mulch to kill/prevent weeds, and tangle of tomato cages with last year's dried tomato plants still clinging to them in the photo above).
That "good enough" nonsense needs to stop.
Real gardens aren't perfect—at least mine never will be—and it's the imperfect details that often teach us the most. And any garden journal photos are better than no photos. It's amazing how much stuff I completely forget I even grew until I see old photos.
Realization #2:
I am apparently incapable of writing a short garden blog post, even when it's mainly supposed to be pictures.
It's hot and humid, 90 degrees in the shade and headed higher. There's a saving grace breeze, but by late morning it feels like a giant noiseless hairdryer. Joe is out on the tractor raking up our second cutting of hay. All the animals are napping in the shade.
We've reached an annual turning point in the kitchen garden, and it's time to face the truth. Most of the seeds you ordered are still sitting in the freezer. It's too late to start any more spring or summer crops, and the rest of the poor little tomato plants you bought back in April and still haven't put in the ground (or transplanted into bigger pots, or even fertilized) have turned a disturbing shade of purplish black.
So many plans for the garden this year, so few of them actually accomplished. Again.
But then you realize that all of this no longer matters, because after spending half an hour watering out in the blazing sun yesterday morning (I love these garden hoses), you've managed to permanently sweat away your appetite.
What's planted is planted, and suddenly it seems like more than enough. Who wants to eat 56 feet worth of potatoes in July and August anyway? All you can think about are crisp, cool salads and really tall, ice-filled drinks.
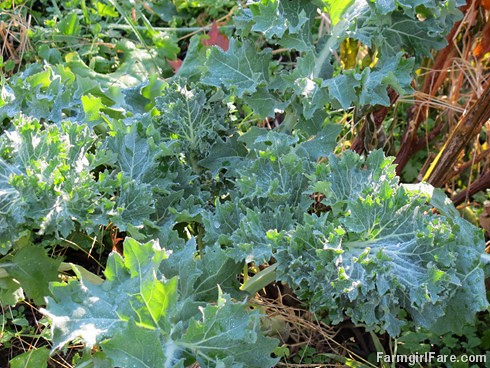
And then the realization hits. You were so busy enjoying all that lovely over-wintered Swiss chard and kale, and then the spring-planted gourmet baby lettuce mix, not to mention all those big beautiful heads of volunteer lettuce from last fall's salad patch, that you conveniently forgot to start any heat tolerant greens for summer salads.
Now all those potatoes are starting to sound pretty good.
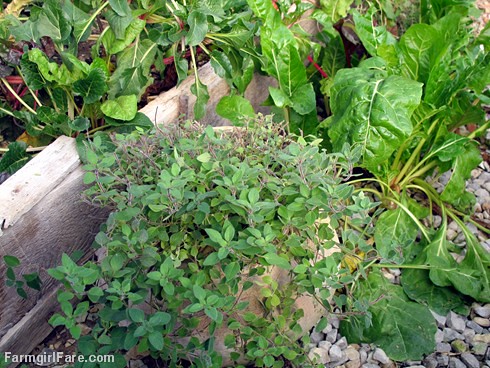
Picture perfect or not, here's what's growing in my garden right now. There are a also few herbs and flowers tucked here and there, and the homemade greenhouse is full of lemon balm and bolting Swiss chard, but this is the bulk of things. All photos were taken June 9th, except the cucumber and pepper bed which was taken yesterday because I forgot it on the 9th.
11 more photos below, descriptions of each at the end. . .