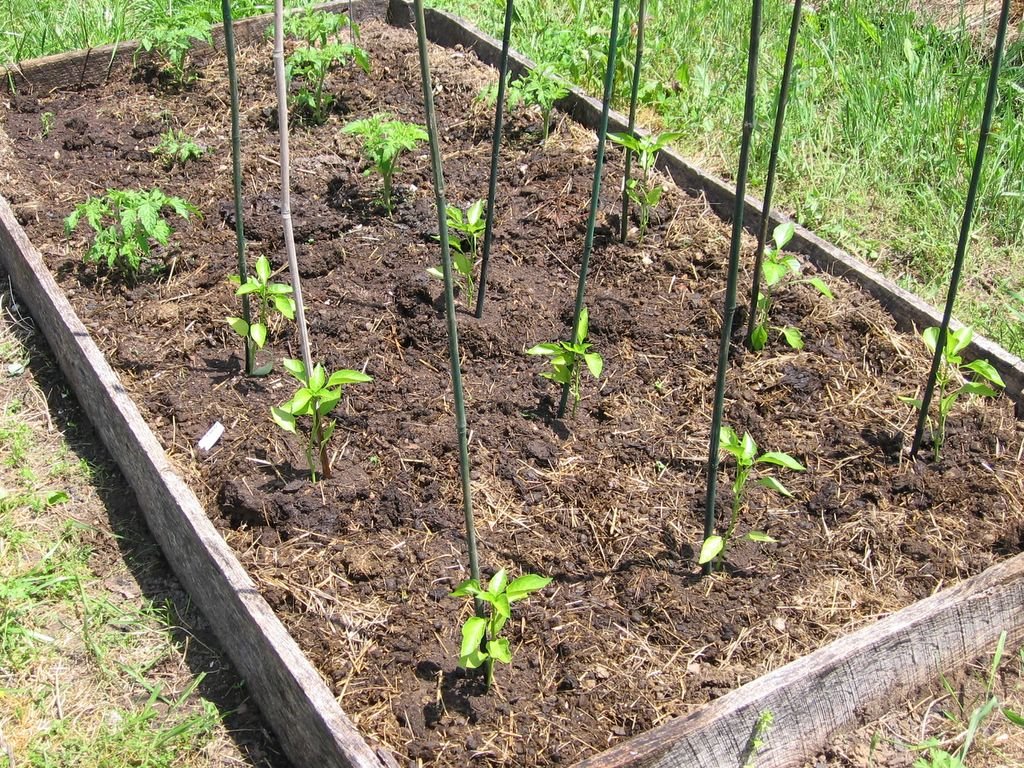
Is there anything more beautiful than edible homegrown bounty?
Update: For tips on planting and growing sweet peppers, check out these posts. Happy growing!
Realization Of The Day:
Is there anything more beautiful than edible homegrown bounty?
Update: For tips on planting and growing sweet peppers, check out these posts. Happy growing!
Realization Of The Day:
Much of the garden may be in a pitiful state, but my sweet Aconcagua peppers haven't failed me yet.
I've probably tried growing at least fifteen different heirloom varieties of sweet peppers from seed over the last twelve years. Red, orange, yellow, purple, short, fat, tall, thin, you name it, including a few with names I could barely pronounce.
So after all that exploration into the world of sweet peppers, how many kinds will you find in my garden today? Just two. Yep, that's it. Sometimes a girl just has to quit experimenting and settle down with a couple of dependable favorites.
Aconcagua is one of those two. (Orange Sun bells is the other.) Year after year—while the fate of nearly everything else in my garden is uncertain—I always end up with tall, healthy plants loaded down with large, beautiful peppers (knock on wood).
The plants require nothing more than some nice, fertile soil (I amend mine with lots of
sheep manure), a layer of mulch such as grass clippings (unless you find pulling weeds relaxing), water at regular intervals, and something to support the plants because they will grow 3 to 4 feet tall and tend to fall over when weighted down with ripening peppers, especially during heavy rainstorms. I tie them to
bamboo stakes with recycled baling twine.
Pests are rarely a problem, although the
blasted blister beetles have been attacking several of my plants this year. They've only nibbled on the leaves so far, and haven't devoured enough to kill off any of the plants.
While I don't recall any pepper plants being plagued by disease, this year I have found a couple of unripe peppers simply rotting away on the vine for no apparent reason (and they weren't touching the ground). The same thing is happening with the Orange Sun bells, though, and since the majority of the peppers aren't doing it, I haven't bothered to look into this. Weird, unexplainable stuff always goes on in my garden.
I've been saving seeds from my best peppers for years, but the original seeds were purchased from
Baker Creek Heirloom Seeds, and they have this to say of Aconcaguas:
"Very large, long, frying peppers, up to 11" x 2½". Tall plants give good yields over a long season, and the fruit is very sweet and delicious! This pepper was named after Mt. Aconcagua in Argentina." A packet of 25-50 seeds will set you back $1.35.
The pepper on the left in the photo is 8 inches long and weighs half a pound. In the summer, I tend to eat most of my sweet peppers raw--either cut into chunks and
tossed into salads or cut into slices and dipped into something like
herbed yogurt cheese or
homemade blue cheese dressing. Today I added a couple to a batch of
Summer In A Bowl. These are also the peppers I use when I make my
Simple Summer Harvest Soup.
They do cook up quite nicely, though (notice Baker Creek even calls them "frying peppers"), so what I do is preserve
much of my harvest for cooking up later in the easiest way possible—I freeze them.
No fancy equipment or giant vats of boiling water—like I had in the kitchen today to put up tomatoes—or special containers required.
This is how a hot, tired, and lazy gardener freezes her peppers and saves her own pepper seeds.
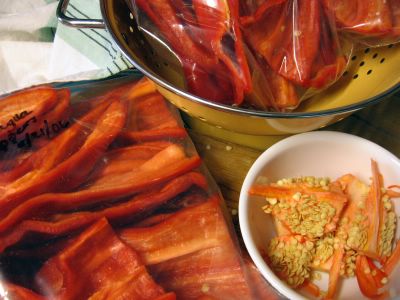
Take a sharp knife and slice off the stem. Then cut the pepper in half lengthwise and pull out the seeds. Be sure to save the seeds from your best looking specimens. Simply detach them from the membranes and, if they seem a little moist, put them in a nice dry spot for a while. Otherwise stick them right into a little labeled storage bag. I either use itty bitty zipper seal bags or reuse the paper envelopes the seeds I ordered came in.
That's it. You're now ready to grow an even better crop of peppers next year. Isn't it nice when something is so easy?
And freezing your beautiful bounty is just as painless. The pepper halves go right into a freezer bag; no blanching required. You can vacuum seal them with a
FoodSaver if you want them to last longer, but it's not necessary. (I do seal up all my green beans with my
FoodSaver.)
Just 'spoon' the halves together and pack them tightly into the bags so you don't have a lot of extra air inside. Seal them up, label, and toss into the freezer. Done!
The peppers won't freeze into a massive clump, so you can pull out just a few halves at a time if you like. (If for some reason yours do clump together, spread the pieces out on a baking sheet and freeze until solid, then pack in freezer bags). Your frozen peppers can be added to practically anything:
soups and stews, chili, omelets, fritattas.
You can fry the whole halves up in olive oil or roast them in the oven with lots of other veggies or just some little halved potatoes. You can chop them up and add them to salads. Basically you can do anything with them that you could do when they were fresh,
but now you can do it during a snowstorm.
This is important, as it is what makes all of this hot and sweaty and dirty work worthwhile. There is nothing more delicious and rewarding than being able to enjoy instant homegrown food in the middle of winter when the garden is covered with a sheet of ice and you can barely remember what
a blister beetle even looks like.
©
FarmgirlFare.com, the year round foodie farm blog where Farmgirl Susan shares recipes, stories, & photos of her crazy country life on 240 remote Missouri acres - and the freezers are always full.