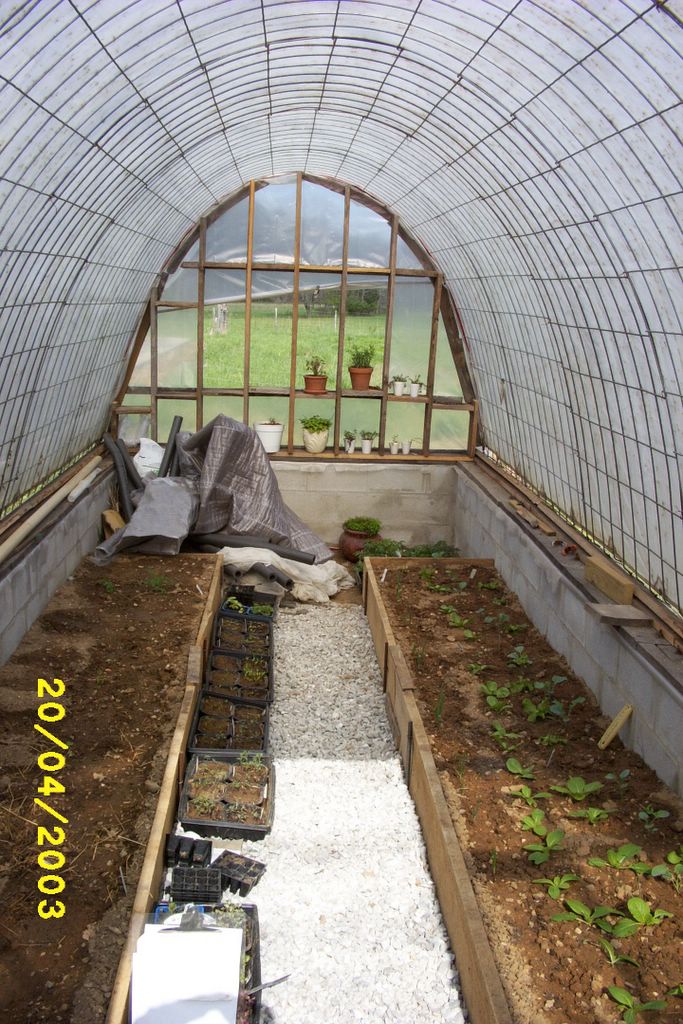
Tomatoes & More In The Greenhouse
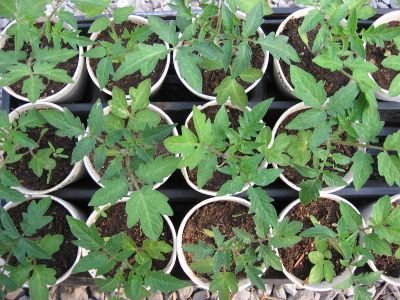
San Marzano Tomato Seedlings (started from my '05 seeds)

Various Tomato & Pepper Seedlings In Individual Plugs
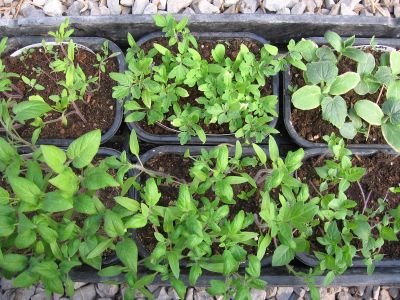
More Than Ready For Individual Containers
The other day I finally moved the last flat of pepper and tomato seedlings from their indoor home (tucked under a standard flourescent shop light that we hung from the bottom bookshelf in my office--a super use of previously unused space, though not Doodle proof of course) into the greenhouse.
Despite nighttime temperatures that continue to dip into the 20sF, the tomato plants are doing just fine, thanks to the hastily constructed "greenhouse within a greenhouse" they've been living in, along with regular servings of their favorite elixir--diluted llama pellet tea. It's so important for seedlings in containers to receive enough fertilizer (especially if you have them growing in a soilless--meaning nutrient-less--potting medium).
I have six containers of seedlings that still need to be transplanted into individual plugs and cups. As you can see in the photos, I use either styrofoam cups (stop cringing--I've been using the same ones for 10 years) or, for smaller plants, individual plastic plugs that come in various sizes. These are a great space saver, too. About 10 years ago I mail-ordered a whole bunch of plugs and the black plastic trays they fit in. The bulk price was much, much less than buying just a few at a time. I like to stock up on things like that so I don't have to worry about purchasing them each year. Also, if you are gentle with your transplanting (even though they aren't reallyl meant to be), your plugs can be used over and over.
I write the name of the plant directly on the styrofoam cups with a black Sharpie permanent marker. For the plugs, I make tags using strips of plastic cut from yogurt and sour cream containers, usually the ones made from #5 plastic since it is not recyclable around here (another example of Gardening On The Cheap--and Recycling In The Garden). These work really well--just don't use a red Sharpie, as the writing will fade in the sun and suddenly you will have no idea what is what.
These seeds were started on March 8th and really should have been transplanted already. They are:
Lemon Cucumbers (Pinetree seeds, '06)
An 1894 heirloom that I just love. Last year I had a lemon cucumber explosion--in a good way, though it did get a little scary going out into the garden once the incredibly happy (and prolific) vines had not only taken over an entire 4'x8'bed, but the entire surrounding 4' wide walkway in all directions as well. Don't ask why I bought more seeds and didn't use some from last year's best specimens. Actually, I think there are some seeds still sitting out in the garden--maybe they'll sprout on their own.
Tomatillo Verde (Baker Creek seeds, '06)
I absolutely love cooked tomatillo salsa but haven't grown tomatillos in years--mainly due to a space shortage. I used to put up jars and jars of the stuff and then use them to make the most delicious enchiladas. Tomatillos have always done well for me in Missouri, and I'm looking forward to having them in the garden once again. (If I can locate my salsa recipe, I'll be happy to share it.)
Riesentraube Tomato (Baker Creek, '06)
This German heirloom (the name means "giant bunch of grapes") is a new tomato for me. It produces 1 ounce fruits that grow in clusters (hence the name). I was swayed by the luscious photo in the catalog and the phrases in the description: "rich, full of flavor" and "large plants produce massive yields." For $1.50, how could I resist?
Brandywine Tomato (Baker Creek, '06)
This was my "free packet with every order" packet this year. Brandywines date back to 1885 and are the most well known heirloom around. This large, pink tomato is indeed incredibly delicious, but in the past I have had problems with the fruits cracking (as happens with most varieties of very large tomatoes). Blossom end rot was a problem at times as well, though I think I have that licked (it has to do with a calcium deficiency in the soil brought about by excess rain or watering). We'll see. The seedlings look great, so I have high hopes for these.
Millionaire Tomato (Baker Creek, '06)
Another new variety for me. This 1950s, "richly flavored" variety from the Ozarks is coral pink and ought to do well here. Can't wait to see the color.
VFN (mine, '01)
I started a second batch of these seeds since the germination rate was so low the first time (not surprise since the seeds are five years old). Both batches are doing fine. This is a standard, salad type heirloom tomato that gets its name from the diseases it is resistant to: Vercillium Wilt, Fusillium Wilt, and something else I can't remember off the top of my head. Joe likes them because they look like "regular" tomatoes, size- and color-wise. I like them because they are dependable in the garden. And of course we both love the superb flavor.
As mentioned previously, I garden by the moonsigns as much as I can (I need all the help I can get), so if the weather is warm enough by then (iffy since we can get frosts well past our offical frost date of April 15th), I will start transplanting tomato plants into the garden on the fertile days in the third quarter--April 14th, 15th, 19th, and 20th. We are lucky to have quite a few fertile days this month, especially when there is so much to do in the garden. (Yes, I promise I will go into more about this soon, but in the meantime, I will let you know when the upcoming "good" days are to do things, and you can try to schedule your gardening activities around them if you so desire.)
When transplanting tomatoes into the garden, these are the two things I always do, and I know they make a difference.
1. Put one teaspoon of Epsom Salts (NOT table salt, find it in the pharmacy section) in the bottom of each tomato hole.
2. Before you plant your tomato seedling, pinch off all of the leaves except the top two or three and then bury the entire plant up to those leaves (you may have to lay it sideways in the ground--that's fine). I know, this sounds like some sort of bizarre plant (and gardener) torture, but believe me, once you get over your initial fears of realizing that you just turned your large and happy plant you have been babying for weeks into three dinky leaves, you will thank me. All those places where you pinched off the leaves will put out roots, giving your plant a strong, healthy base.
I think that's it for now. Time to head back outdoors. It's another beautiful spring day. Beyond the garden gate, the woods are filled with dogwood and redbud blooms. This really is a lovely time of year here.
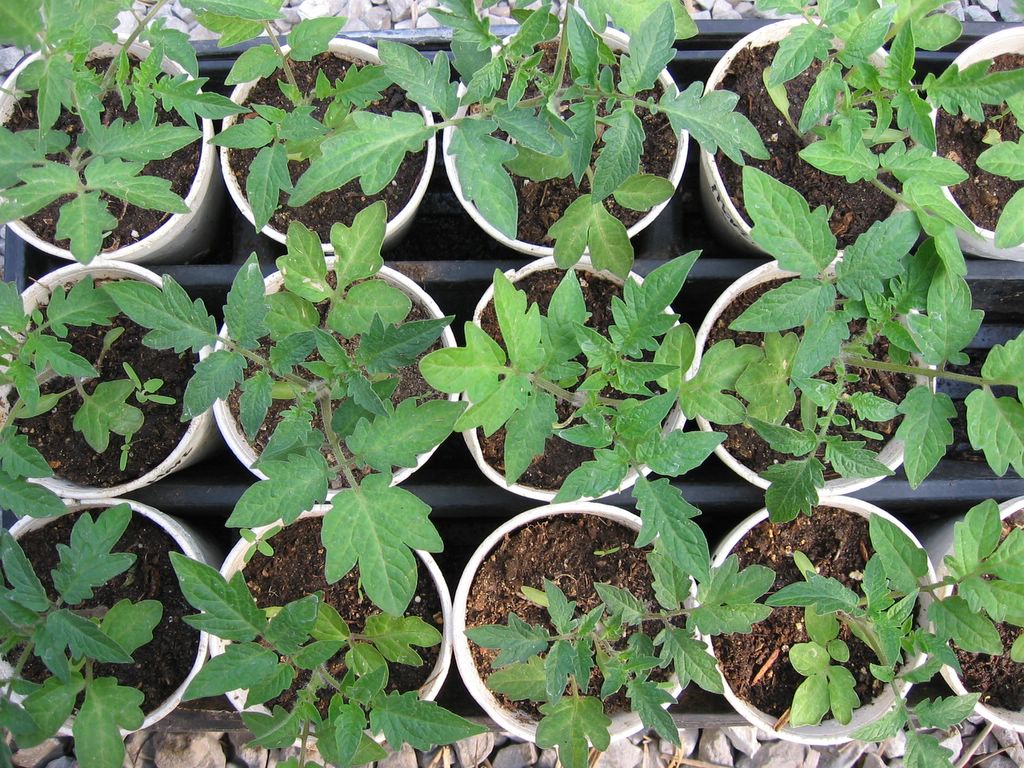
San Marzano Tomato Seedlings (started from my '05 seeds)

Various Tomato & Pepper Seedlings In Individual Plugs
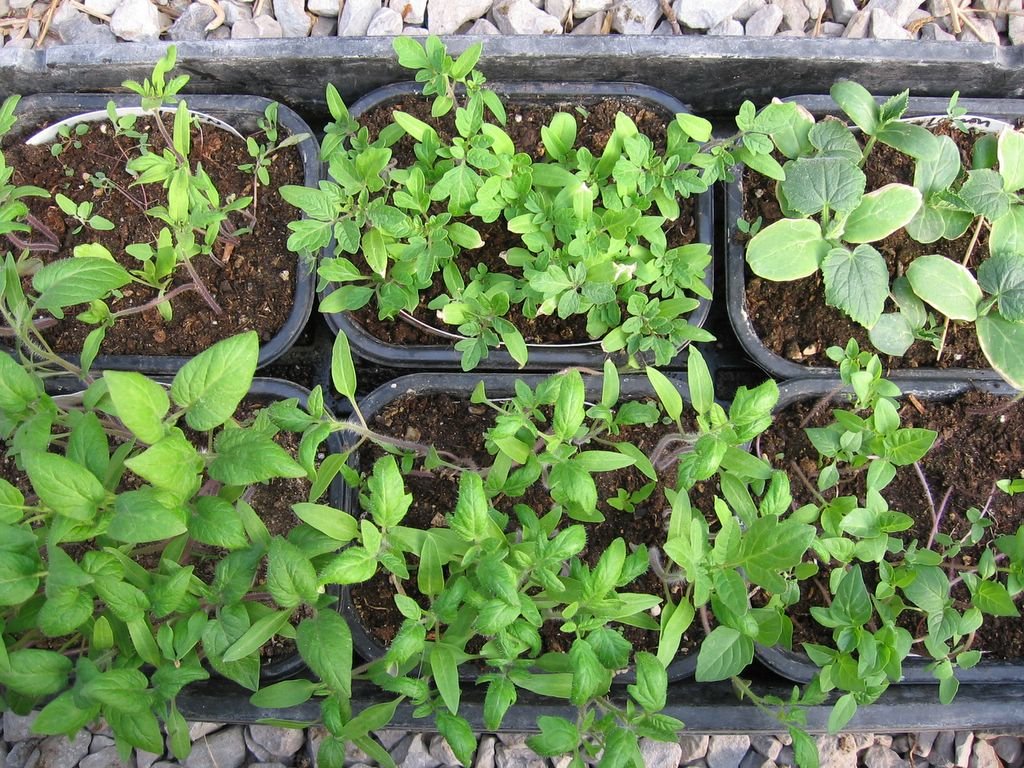
More Than Ready For Individual Containers
The other day I finally moved the last flat of pepper and tomato seedlings from their indoor home (tucked under a standard flourescent shop light that we hung from the bottom bookshelf in my office--a super use of previously unused space, though not Doodle proof of course) into the greenhouse.
Despite nighttime temperatures that continue to dip into the 20sF, the tomato plants are doing just fine, thanks to the hastily constructed "greenhouse within a greenhouse" they've been living in, along with regular servings of their favorite elixir--diluted llama pellet tea. It's so important for seedlings in containers to receive enough fertilizer (especially if you have them growing in a soilless--meaning nutrient-less--potting medium).
I have six containers of seedlings that still need to be transplanted into individual plugs and cups. As you can see in the photos, I use either styrofoam cups (stop cringing--I've been using the same ones for 10 years) or, for smaller plants, individual plastic plugs that come in various sizes. These are a great space saver, too. About 10 years ago I mail-ordered a whole bunch of plugs and the black plastic trays they fit in. The bulk price was much, much less than buying just a few at a time. I like to stock up on things like that so I don't have to worry about purchasing them each year. Also, if you are gentle with your transplanting (even though they aren't reallyl meant to be), your plugs can be used over and over.
I write the name of the plant directly on the styrofoam cups with a black Sharpie permanent marker. For the plugs, I make tags using strips of plastic cut from yogurt and sour cream containers, usually the ones made from #5 plastic since it is not recyclable around here (another example of Gardening On The Cheap--and Recycling In The Garden). These work really well--just don't use a red Sharpie, as the writing will fade in the sun and suddenly you will have no idea what is what.
These seeds were started on March 8th and really should have been transplanted already. They are:
Lemon Cucumbers (Pinetree seeds, '06)
An 1894 heirloom that I just love. Last year I had a lemon cucumber explosion--in a good way, though it did get a little scary going out into the garden once the incredibly happy (and prolific) vines had not only taken over an entire 4'x8'bed, but the entire surrounding 4' wide walkway in all directions as well. Don't ask why I bought more seeds and didn't use some from last year's best specimens. Actually, I think there are some seeds still sitting out in the garden--maybe they'll sprout on their own.
Tomatillo Verde (Baker Creek seeds, '06)
I absolutely love cooked tomatillo salsa but haven't grown tomatillos in years--mainly due to a space shortage. I used to put up jars and jars of the stuff and then use them to make the most delicious enchiladas. Tomatillos have always done well for me in Missouri, and I'm looking forward to having them in the garden once again. (If I can locate my salsa recipe, I'll be happy to share it.)
Riesentraube Tomato (Baker Creek, '06)
This German heirloom (the name means "giant bunch of grapes") is a new tomato for me. It produces 1 ounce fruits that grow in clusters (hence the name). I was swayed by the luscious photo in the catalog and the phrases in the description: "rich, full of flavor" and "large plants produce massive yields." For $1.50, how could I resist?
Brandywine Tomato (Baker Creek, '06)
This was my "free packet with every order" packet this year. Brandywines date back to 1885 and are the most well known heirloom around. This large, pink tomato is indeed incredibly delicious, but in the past I have had problems with the fruits cracking (as happens with most varieties of very large tomatoes). Blossom end rot was a problem at times as well, though I think I have that licked (it has to do with a calcium deficiency in the soil brought about by excess rain or watering). We'll see. The seedlings look great, so I have high hopes for these.
Millionaire Tomato (Baker Creek, '06)
Another new variety for me. This 1950s, "richly flavored" variety from the Ozarks is coral pink and ought to do well here. Can't wait to see the color.
VFN (mine, '01)
I started a second batch of these seeds since the germination rate was so low the first time (not surprise since the seeds are five years old). Both batches are doing fine. This is a standard, salad type heirloom tomato that gets its name from the diseases it is resistant to: Vercillium Wilt, Fusillium Wilt, and something else I can't remember off the top of my head. Joe likes them because they look like "regular" tomatoes, size- and color-wise. I like them because they are dependable in the garden. And of course we both love the superb flavor.
As mentioned previously, I garden by the moonsigns as much as I can (I need all the help I can get), so if the weather is warm enough by then (iffy since we can get frosts well past our offical frost date of April 15th), I will start transplanting tomato plants into the garden on the fertile days in the third quarter--April 14th, 15th, 19th, and 20th. We are lucky to have quite a few fertile days this month, especially when there is so much to do in the garden. (Yes, I promise I will go into more about this soon, but in the meantime, I will let you know when the upcoming "good" days are to do things, and you can try to schedule your gardening activities around them if you so desire.)
When transplanting tomatoes into the garden, these are the two things I always do, and I know they make a difference.
1. Put one teaspoon of Epsom Salts (NOT table salt, find it in the pharmacy section) in the bottom of each tomato hole.
2. Before you plant your tomato seedling, pinch off all of the leaves except the top two or three and then bury the entire plant up to those leaves (you may have to lay it sideways in the ground--that's fine). I know, this sounds like some sort of bizarre plant (and gardener) torture, but believe me, once you get over your initial fears of realizing that you just turned your large and happy plant you have been babying for weeks into three dinky leaves, you will thank me. All those places where you pinched off the leaves will put out roots, giving your plant a strong, healthy base.
I think that's it for now. Time to head back outdoors. It's another beautiful spring day. Beyond the garden gate, the woods are filled with dogwood and redbud blooms. This really is a lovely time of year here.
Note: It is definitely not too late to start your own tomato plants from seed. The best time to start tomato, pepper, squash, and eggplant seeds are on fertile days in the second quarter--April 6th and April 12th this month. Don't miss the full moon April 13th! (But don't start your seeds that day.)